Our favourite places to stay on this sleepy Cebu island.
Our Memorable Trek to Mount Mauyog in Cebu
Contributed by The Bisaya Traveler
The internet, in spite of its groundbreaking solutions, sometimes just doesn’t have the right answers to some of our questions. Although there’s a wealth of tips and advice online, there are times when the tips and run-downs shared to us are a little outdated and puzzling. Even when you are searching info on sought-after spots, you’ll find dissimilar answers and vague explanations. Just recently, I learned this lesson the hard way, in the midst of our trek to one of Cebu’s most beloved peaks – Mount Mauyog.
Also read: 13 Must-Visit Mountain Peaks and Camp Sites in Cebu
Don’t get me wrong – there are a lot of bloggers who have made incredible write-ups and posts about Mount Mauyog. From Cebuano travel bloggers to Manila-based journalists, I’ve seen tons of tip-offs from great minds about this peak. Unfortunately, there are some things beyond our control that would often turn these great posts into not-so-valuable reads. To be specific, changes in entrance fees, opening times and management can all of a sudden make one blogger’s piece irrelevant.
Where did I go wrong?

Prior to our trek to Mount Peak, I thought I’ve already got everything covered. While I know someone who has just been to the summit, I didn’t bother asking him questions because I thought the information shared online was enough. Little did I know, there was a slight change in the trail to Mount Mauyog that almost ruined my day. Thankfully, I was surrounded by optimistic and sprightly people who were there to help lift up my mood.
Team Bang’s Mount Mauyog adventure
As with most of my hikes in Cebu, I wasn’t alone on my day trek to Mount Mauyog. Over the past six months, I have forged a deep bond with Team Bang – a bunch of adventurists who, like me, also have serious cases of wanderlust. But, our Mount Mauyog adventure was no ordinary hike. After all, it was the first time for us at Team Bang to don our new dri-fit uniforms.
Not everyone from Team Bang was around, though. There were only seven Team Bang members who joined me on my hike to Mount Mauyog – Marzi, Lieve, Kevin, Wilfred, Donna, Beth and RJ. Nevertheless, it was a fun journey full of inspiring lessons.
Our day trip to Mount Mauyog started with a meet-up at Ayala V-hire terminal. From there, we took a one-hour V-hire ride up to Barangay Cantipla. Without wasting any time, we went for a short walk to the barangay proper, and took on a habal-habal ride to Sitio Awayan.

But before getting to Sitio Awayan, we were asked to swing by the Tabunan barangay hall, to register and pay the required fee of ₱30 per person.
We, then, found a local guide and headed to Sitio Awayan to commence on our trek. Led by the miss-earth-worthy Donna (as always), we said a short yet meaningful prayer, before hitting the Sunog trail of Mount Mauyog.
Moments later, we crossed a creek that, as I’ve learned from a guide in Mount Mauyog, serves as the boundary between Cebu City and Balamban.
As for the trail, I loved every minute of it. With its steep slopes and the scorching tropical weather, I must say it was rather fun and sweat-inducing. As a matter of fact, it really felt like one of my good old HIIT workouts.
Also read: Why You Should Take a Hike at Least Once a Month
As much as I was enjoying the trail, RJ was slightly overwhelmed by the uphill climb. As far as I remember, it was his first time for a long while, to scale a mountain like Mount Mauyog. We made a few stops along the way, to help him recover from the laborious hike and the scorching heat of the sun.
RJ felt so tired that he even asked us to leave them behind so that the rest can reach the peak early. But, there’s no “I” in Team Bang, and we never leave a wounded comrade in the middle of the battle. So, instead of leaving them behind, we made the most of our breaks in a very Team-Bang-like fashion – by snapping tons of photographs.
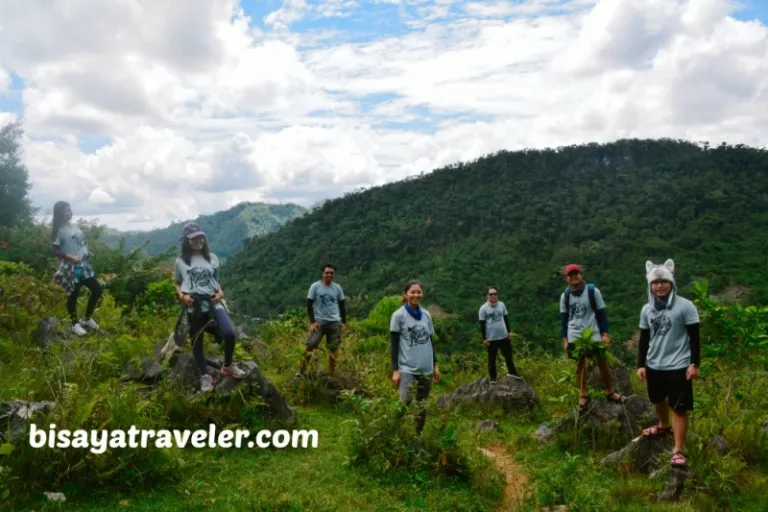
And, there were plenty of Instagram-worthy spots along the way, such as these bombil flowers and shady trees.

Wilfred also flaunted his new wolf headdress to solidify his Predu Wolf moniker. As you can see, we had fun taking photos of him and his headdress. We even made some wolf sounds to make things more interesting and fun.

Eventually, we arrived at a gym near the foot of Mount Mauyog. Since it was almost noon time, we decided to eat our lunch in a store nearby, beside a billiard table.
With our stomachs filled, we went on our hike to Mount Mauyog via a cemented road. We were also joined by another local young guide, who just delivered a trio of trekkers to the foot of Mount Mauyog.
But, as we were making our way to the Mauyog, the young guide told me something that almost ruined my day. As it turns out, there were a couple of other fees, to get to the summit, aside from the guide fee and the entrance fee in Tabunan. What’s more, these fees were just as expensive as ones we paid in Barangay Tabunan.
I, quite frankly, thought it was highway robbery. For a moment, I was fired up, feeling like a rabid wolverine about to rip off someone’s head. And it wasn’t just me who felt like we were ripped off in Mount Mauyog. Wilfred even said that the trail was “ubusan nang yaman”.
Luckily, thanks to Lieve’s jokes and infectious positivity, my temper cooled off eventually. Still, I wasn’t happy with the way things turned out.
There was no one, except me, to be blamed for this small issue. If I only did my research more diligently, things would have gone smoother.
We had no choice, but to finish the climb we have started. We were near the foot of Mount Mauyog, and there was nothing else to do, but finish the climb.
Upon our arrival at the peak’s foot, we went straight to the person in charge, for payment and registration. As you’d expect, the person in charge did get an earful from us. The folks there, though, explained to us everything thoroughly, to clarify things further.
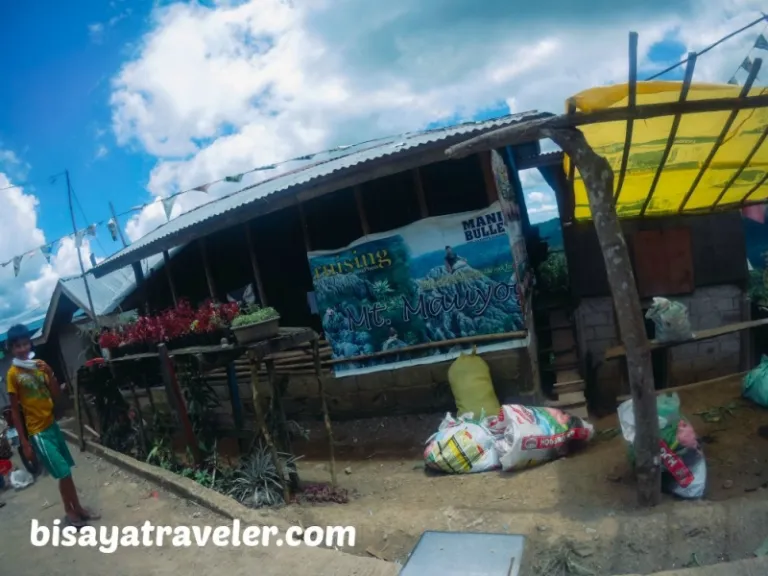
Once we’ve settled our bills, we took a short yet thrilling trek to the summit of Mount Mauyog.
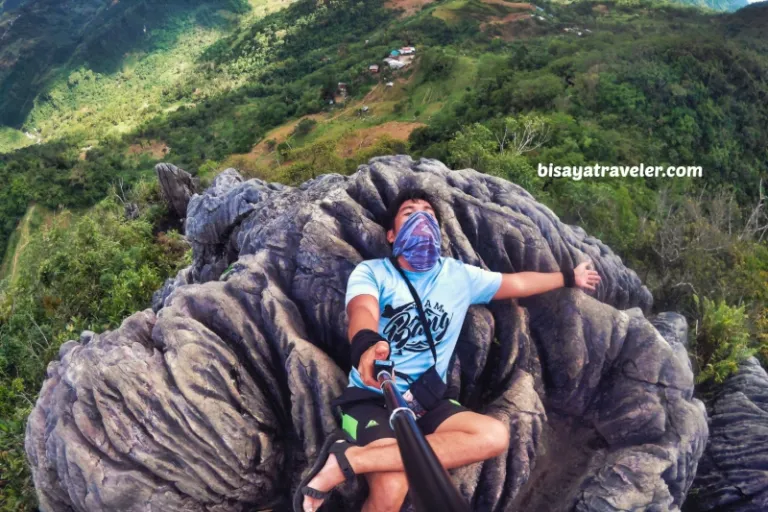
Truth to be told, I really thought it would be an easy climb, with many people suggesting that it was just a walk in the park. But, it wasn’t a piece of cake, by any means. Not only was the trail elevated, but it also had loose soils. Not to mention, you need to use a bit of your upper body strength, to climb its boulders and huge rocks.

After a few minutes of walking, crawling and climbing, we finally arrived at the summit of Mount Mauyog. Amazingly, there was another group on the top who seems to recognise us. Their leader even took a photo of some of our team members.
And the view was nothing short of glorious and stunning. As a matter of fact, it somehow made me forgot how much we’ve spent on this day hike in Cebu.
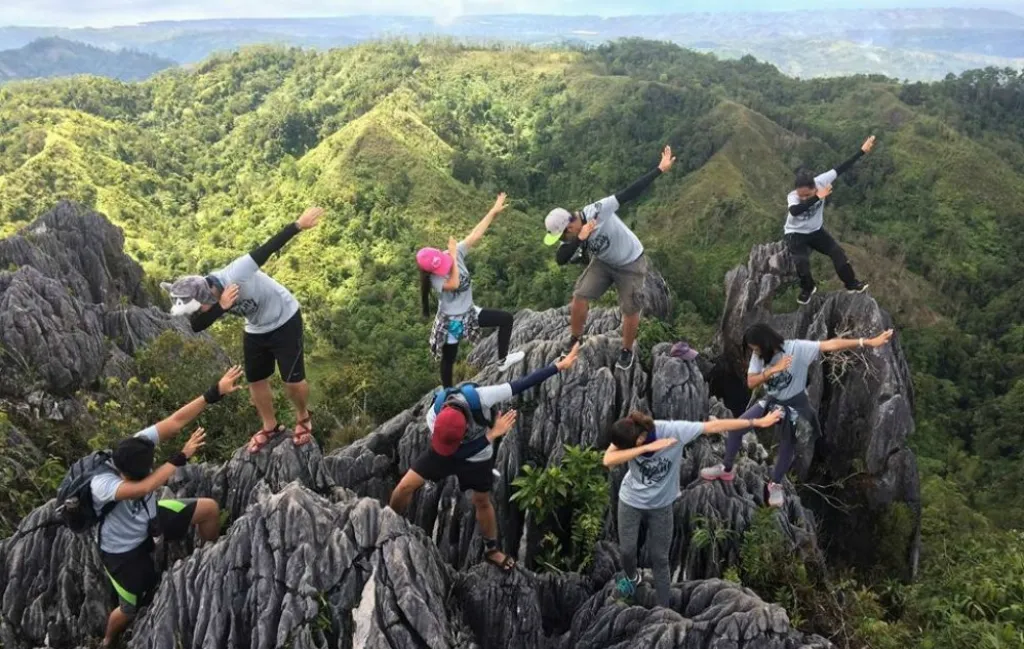
As part of Team Bang’s traditions, we made solo poses from different spots on the top.
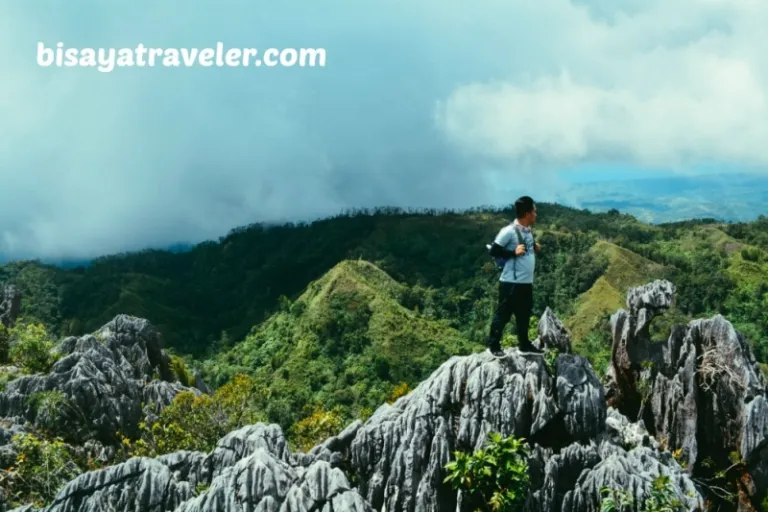

RJ was also back on track, making his way around the spiky and rocky areas of Mount Mauyog, to make great poses.
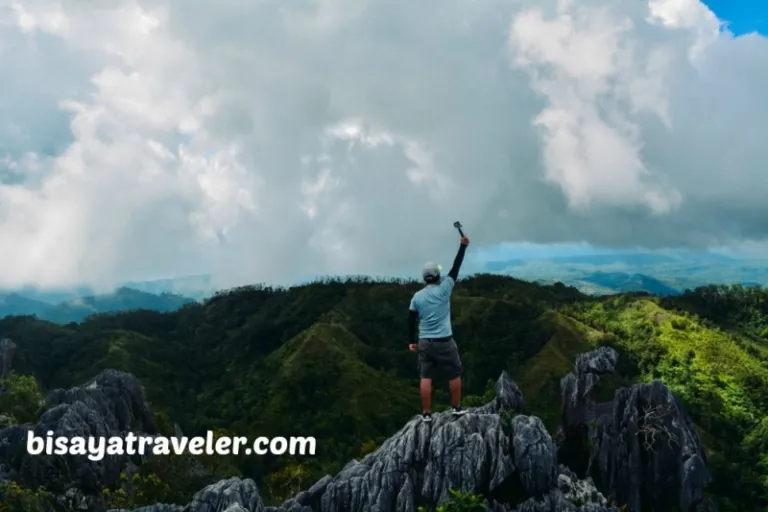
Of course, no Team Bang escapade is complete without the Dab pose.

Later on, we descended down to the lower lookout point of the summit (Mauyog gamay, as they call it).
As far as I’m concerned, the view from this vantage point is better than the other one. We even spent some time here, just snapping photos and admiring the awe-inspiring panoramas.

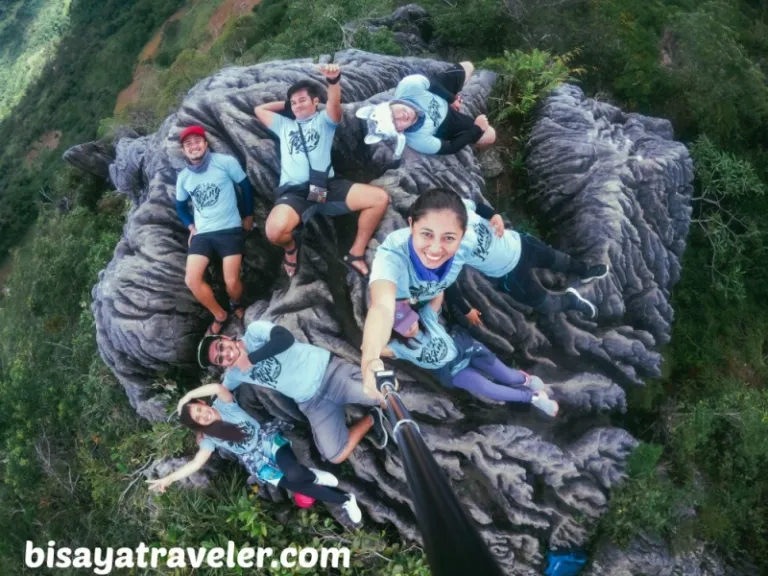
Afterwards, we hit the downhill trail, to get to our next destination – JVR Island in the Sky. And, as we were making our way down, RJ suffered mild cramps of his left foot. But like any battle-tested Bosconian, RJ rose up, shook up the tightness in his leg, and finished the hike in a very impressive fashion.
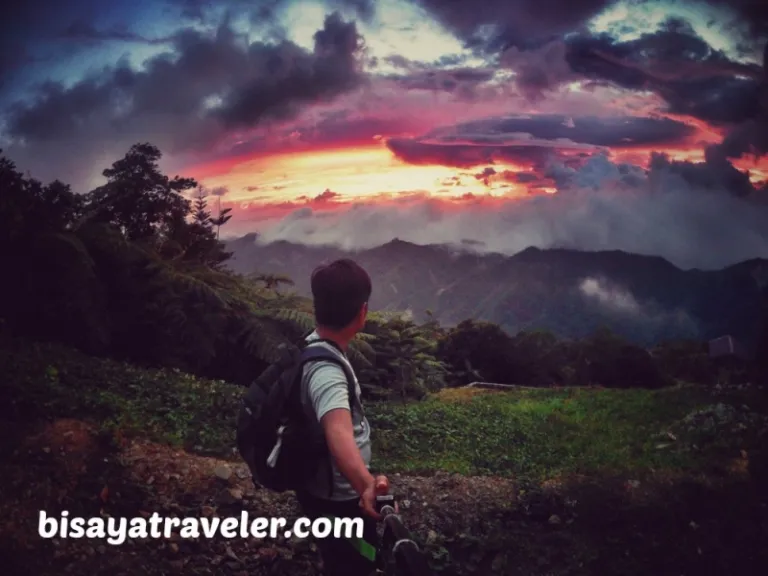
Since everyone was so thirsty, we rushed to the nearby store (registration area) and bought cold refreshments. Then, we hopped on a multi-cab and made a stop to JVR Island in the Sky. There, we relaxed our weary muscles, snapped dozens of photos, and soak up the beautiful sunset.

RJ and Beth, meanwhile, took a habal-habal ride to Balamban proper, to catch a ride to Toledo City.
Apparently, our misadventures weren’t over yet. After calling it a day, we went outside the resort’s gate, to get a V-hire ride back to Cebu City. Sadly, getting a ride there was as difficult as catching a freshwater eel in a raging river.
Although there was a group of motorcycle riders chilling near the resort, only two of them were willing to give us a lift. And, not surprisingly, they only picked the ladies to ride with them. Jeez! Quite a Hokage move, in my book!
For more than a couple of hours, the boys of Team Bang waited for a ride down to JY Center in Lahug. I guess no one was willing to give a quartet of handsome boys a ride down. To make things even worse, it was already dark, and the fog was getting thicker by the minute. There were also no habal-habal drivers who would want to drive us back to Cebu City.
Just when we were about to lose faith in humanity, a kind and generous family picked us up and gave us a lift to JY Square, Lahug. As I’ve said before in my blogs, the world still has plenty of Good Samaritans (I’ll write about this one later)!

To the family with a D-MAX pickup who gave us a free ride (I’m very sorry I forgot your name), we – me, Lieve, Wilfred and Kevin – are so grateful for showing us such class and act of kindness. Hopefully, one day, our roads will cross again, and we can return you the favour.
Is the Sunog Trail from Tabunan a good choice?
I like the trail, but it’s too costly for my taste. Taking this trail means you’re going to pay double to reach Mount Mauyog. However, if money is not an issue for you, and you want to make your hike longer, go ahead and take this trail.
Here’s the estimated cost breakdown for the Sunog Trail including the fees in Mauyog:
- Vi-hire fare from Cebu City to Cantipla: ₱120 per person
- Habal-habal ride to Tabunan from Cantipla: ₱70 per person
- Environmental fee: ₱30 (per person) – I find this one puzzling since the trail is mainly in the Talamban side. Why should we pay for an environmental fee for a walk less than a kilometre?
- Guide fee from Tabunan: ₱250 to ₱500 per group, depending on the number of hikers.
- Disturbance fee (Mauyog side): ₱30 per person.
- Guide fee (Mauyog side): ₱300 per group up of 9 hikers or less. ₱600 for groups with 10 to 15 hikers. Price is negotiable.
- V-hire ride to Cebu City: ₱120 per person (₱70 only from JVR Island in the Sky).
For a cheaper alternative, start your hike at the foot of Mount Mauyog. You can get there by asking to V-hire driver to drop you off at the Curos-curos intersection in Balamban. To be more specific, tell the driver that you’re going to Mount Manunggal. Then, you may take a hike (about 1 to 2 hours in my estimation) to the foot of Mount Mauyog, or take a habal-habal ride (₱100 to ₱120 per way for every passenger).
For those going in groups, you may also get a multi-cab ride from Jun – a local living near Mount Mauyog. Price depends on the number of passengers, but generally the fee is ₱100 per person. Jun can be contacted through his mobile number at 0930 935 8180.
Once you’re in Mauyog, you’ll only have to pay for the guide fee and disturbance fee (I know, it’s a weird term).
Reminders
- Bring at least 2 litres of water.
- Wear arm guards for protection against the sun and prickly pants.
- Wear trekking shoes or sandals with great traction.
- Practice the Leave No Trace principles.
- Pack ion drinks like Gatorade or Pocari Sweat, to replenish the lost ions in your body.
- Bring an umbrella, hat or sunscreen to protect your skin from the sun’s heat.
- Be extra careful, when wandering around Mount Mauyog. One false move and you may get seriously injured.
- Unless you’re planning on camping in Mount Manunggal, finish your hike early. As mentioned above, it’s hard to get a ride in Transcentral Highway, especially on Sundays. You may also travel to Balamban proper for a better chance of finding a V-hire or bus ride to Cebu.
- You don’t need to contact a guide before your trek. There are a lot of guides available both in Tabunan and Mount Mauyog.
Mount Mauyog day hike sample itinerary
07:00 AM: Meet-up at Ayala Center V-hire terminal
07:30 AM: Depart from Cebu City
08:30 AM: ETA arrival Curos-curos, Balamban/Depart from the intersection
09:00 AM: ETA arrival at the registration center
09:30 AM: Start hike to the summit
10:30 AM: ETA Mount Mauyog summit/picture taking
11:30 AM: Start descend
12:00 PM: Arrive at the foot of Mount Mauyog/Lunch
01:00 PM: Depart for your next destination or side trip (CansoX, JVR Island in the Sky or Mount Manunggal)
02:00 PM: ETA your next destination
03:00 PM: Depart for Balamban proper (You’ll have a better chance of getting a ride there)
04:00 PM: Depart from Balamban
05:00 PM: ETA Ayala Center Cebu
Also read: 11 Life Lessons You’ll Learn From Hiking Up Mountains
Setbacks are inevitable when you’re on the trail. But, it’s how you stand up every time you fall that makes your trip truly memorable. No matter how awry things are, always wear a smile, and keep your feet moving. Just keep in mind that there’s a breathtaking reward waiting for you at the top.
Published at
About Author
Aldrich Infantado
Subscribe our Newsletter
Get our weekly tips and travel news!
Recommended Articles
10 Bantayan Island Resorts, Hotels, and Rentals for Your Tropical Escape 10 Best Mountain Cafes in the Philippines for Your Peak Coffee Experience Coffee date on the mountains, anyone?
My 10-Day Southern Vietnam Backpacking Trip for Less Than ₱15k 10 days in Southern Vietnam with less than ₱15k budget. Learn how this Filipina did it!
10 Family Outing Ideas in Metro Manila Under ₱500 Looking for a weekend bonding with the family under ₱500? Head to these places, pronto!
10 Fun Things to Do in Manila Alone Live your best life in Manila, even when you’re riding solo.
Latest Articles
Why Commuting in the Philippines Is So Unpredictable Travel times remain unpredictable
Benguet Tourist Spot Sparks Debate over Vietnam Golden Bridge Lookalike Filipinos clash online over Benguet’s tourist spot resembling Vietnam’s Golden Bridge.
Philippines Now on the List for Canada Visa-Free Entry Filipinos can now enter Canada with a $7 eTA instead of a standard visa. Check if you qualify for visa-free travel today!
Sunlight Air Plane Incident in Siquijor Explained for Travellers What happened in Siquijor
How Filipino Travellers Are Travelling Smarter, Not Harder in 2026 Smarter travel tips 2026

