
The promise of new flavours beckons from Banawe.
4 Simple Steps At The NAIA Immigration E-Gates For PH Passport Holders
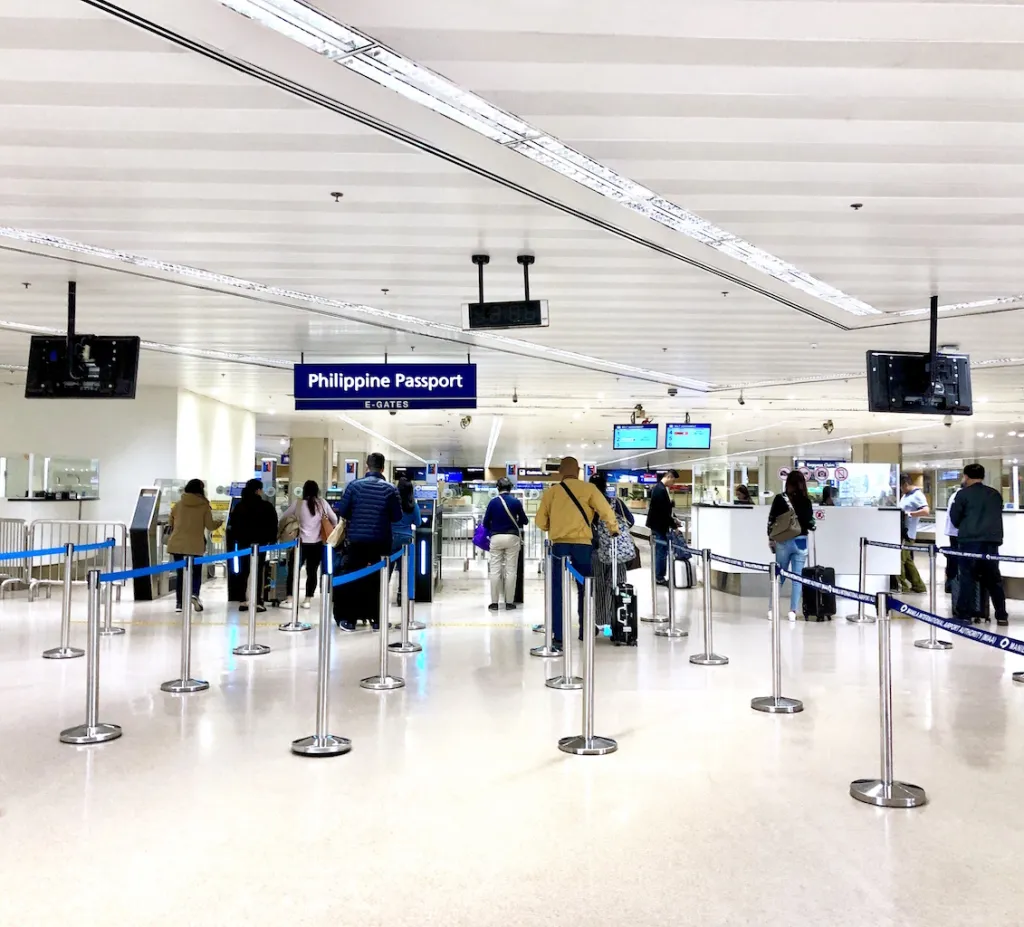
The Immigration electronic gates (e-gates) at NAIA terminals 1 and 3 have officially been in use for more than a year. I’ve been fortunate enough to have experienced using the e-gates on arrival a couple of times now, and I can say that it’s a much faster process than lining up before an immigration counter (given that the machines are functioning properly).
That said, there usually still is a line. But you will clearly see it moving faster and in a more acceptable pace than before the e-gates were introduced. Also, many locals on arrival still aren’t familiar with how the e-gates work, which may explain the brief delays in the line. If you haven’t experienced going through the e-gates before, don’t be caught clueless. Here are the simple steps at NAIA’s e-gates for Philippine Passport holders!
Also read: NAIA 101: A NAIA Survival Guide For First-Time International Travellers
1. Scan your arrival boarding pass
Keep your boarding pass! The first thing to do when you reach the Immigration e-gates is to scan its barcode. Place it at the leftmost corner of the scanner (not the centre or at the right), so that the machine reads it correctly without errors. A small screen will give you the signal if you’ve done it right and will let you know once the scan is over.
There will be a few immigration officers there to assist you if something goes wrong. If you’ve lost your arrival boarding pass, the officers may have a similar pass with a master barcode. I’ve seen them use this on the scanner for locals to proceed to the next step in case they’ve lost their boarding pass.
Also read: If Immigration Officers Were Iconic Filipino Personalities
2. Scan your Pilipinas E-Passport
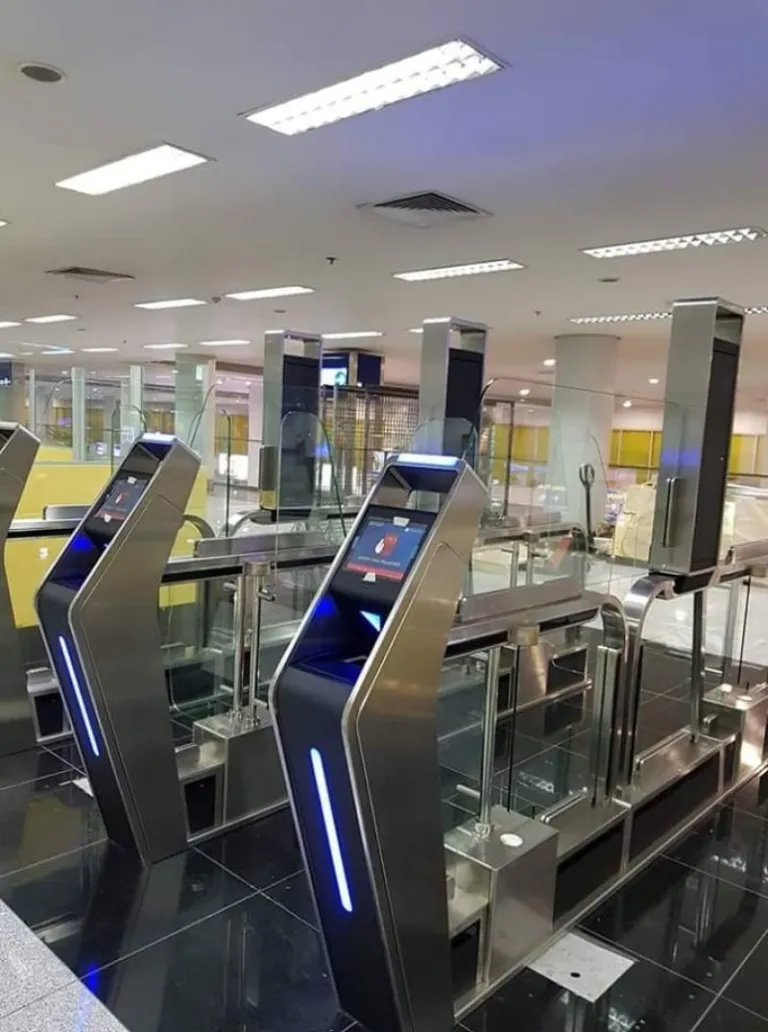
Once you’ve scanned your boarding pass, next is your passport. Simply place your ID page on the scanner and wait for the e-gate to read it. The screen will notify you again when the scan is over. When it is, the first set of two gates will open. Move forward.
3. Proceed with biometrics
There will be shoe prints on the floor where you’re supposed to stand. Stand still then face the screen so that the camera can take your photo. While you’re doing this, you’ll be asked to scan your right index finger as well. Don’t lift your finger unless the screen says otherwise. If you’ve done these steps right, the last gate will open for you to exit.
4. Claim and affix your arrival receipt sticker
Don’t walk away just yet. Your receipt sticker will come out at the edge of the e-gate. You have to get this and immediately stick it on a blank space on your passport (I say immediately because otherwise, you might forget about it).
Think of the sticker as your passport stamp back to the Philippines. There should be a table or stand before the carousels where you can take your time to place the sticker on your passport then throw the remaining paper in the designated box or bin.
And you’re done! You’ve gone through immigration without the long and seemingly unmoving lines, all thanks to the newly installed e-gates. Reading these steps may make it look tedious, but the process is easier and much faster when you’re actually doing it. Already experienced going through NAIA’s e-gates? Tell us about it in the comments!
Published at
About Author
Therese Sta. Maria
Therese's close friends know that if they haven’t seen her around recently, then she’s probably having an adventure with her luggage and camera in hand. Though she loves staying at home and spending lazy afternoons with friends, there are times when she has to be "away from home to feel at home," — that’s when she’s bitten by the travel bug. See her travels on Instagram <a href="https://www.instagram.com/reesstamaria/">@reesstamaria</a>.
Subscribe our Newsletter
Get our weekly tips and travel news!
Recommended Articles
10 Best Banawe Restaurants for a Mouthwatering Food Trip in QC 10 Commandments for Responsible Travel Flexing Spread the good word!
10 Tips for Planning Out-of-Town Trips During Typhoon Season Stay safe and travel well during the rainy season.
12 Most Colourful Natural Attractions Around The World! It’s time to cross over the rainbow!
12 Must-Visit Eastwood Restaurants in 2023 Tried and tested dining spots for every palate.
Latest Articles
P20 Rice Programme Launches in Bacoor, Cavite Affordable rice rollout in Cavite
The Ultimate Winter Japan Bucket List for Filipino Families: Tokyo and Osaka This family-friendly guide to Tokyo and Osaka is packed with snowy fun!
Hyun Bin Fan Meet in Manila This August at Solaire How to join the raffle
Anvaya Cove in Bataan Named Southeast Asia’s Best Golf Course Bataan course takes top spot
Agoda, Trip.com Fined Over Misleading Flight Fares Penalty for fare deception