


There are many other beautiful places in the Philippines outside its capital, but these 5 destinations will let you enjoy weekend trips with great ease.

An Unfit Girl’s Guide to Masungi Georeserve
Contributed by Wander B
Girl, when was the last time you hit the gym or even just exercised? I haven’t been to the gym since February (survived my first mountain then), and my last exercise was the two jogging sessions before my Japan trip last April. For the last 6 months, I’m a certified couch potato, more of a bed potato, perhaps? So I really don’t know why I made this Masungi Georeserve trip in the first place. This weak, unfit girl just planned her death.
Kidding aside…
I didn’t die. In fact, I survived this adventure and wanted to share this guide to you, my fellow lazy girls!
Also read: Masungi Georeserve Guide: What to Know Before Your Trek
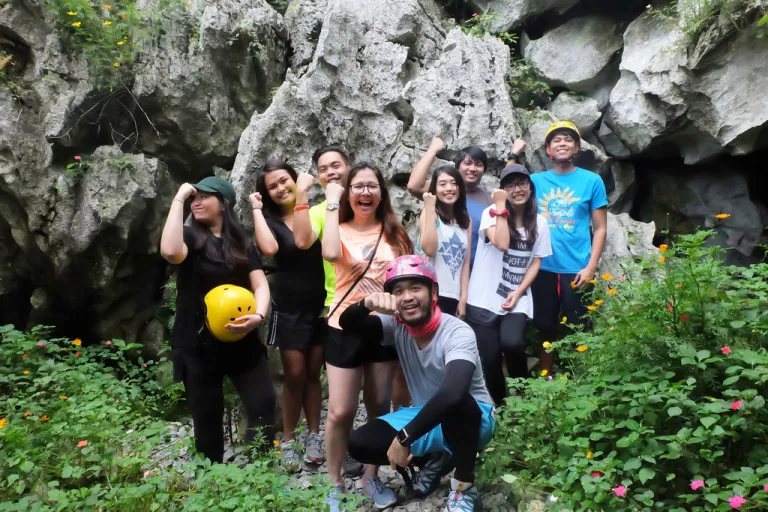
 I may be weak but my Instagram game is strong!
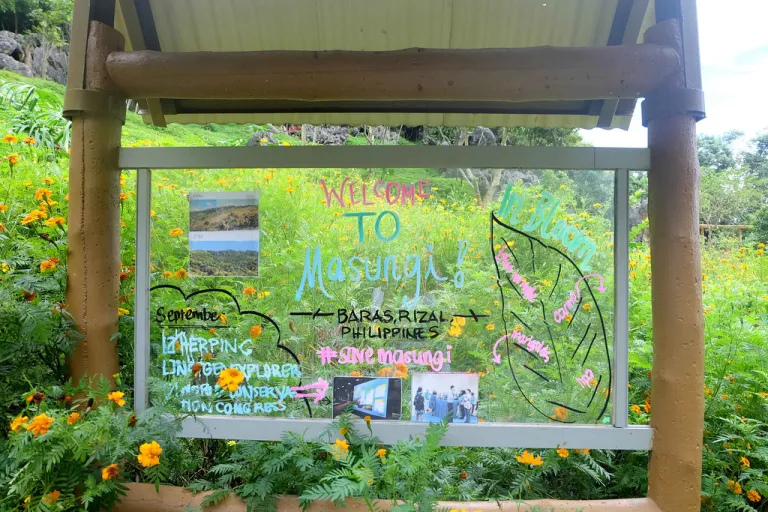
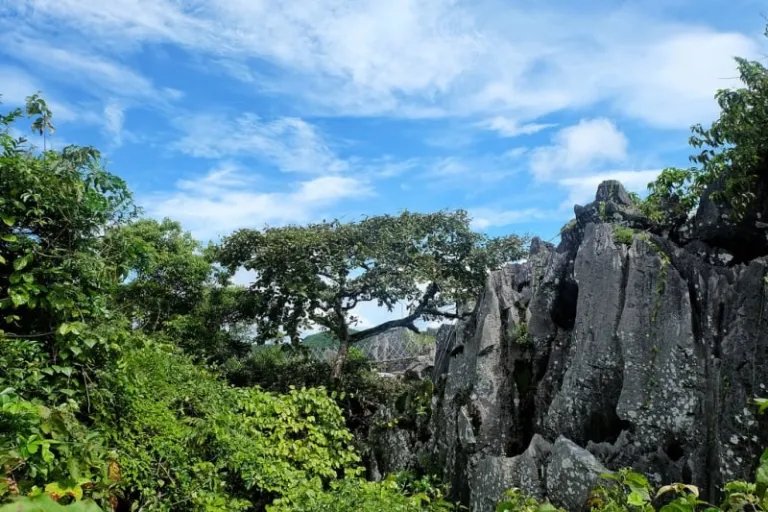
About Masungi Georeserve
According to their website, “The Masungi Georeserve is a conservation area and a rustic rock garden tucked in the rainforests of Rizal. The place’s name is derived from the word “masungki” which translates to “spiked” – an apt description for the sprawling limestone landscape found within. In this sanctuary, guests will commune with nature, and re-energise themselves while doing so. Wander through our pathways for an encounter with wildlife and plant species.”
Travel tips
1. Bring your boyfriend (if you have one)
He’ll wait for you when you stop due to exhaustion, drag you, catch you if you fall from the climbing activities, and if he’s strong enough, you can ask him to carry you.
And your unfit girl friends
As the old maxim goes, the more the merrier. Sama-sama sa hirap mga baby girls.
2. Pay attention to the orientation at Silungan

Before you can proceed to the discovery trail, an orientation will be given by their park ranger. She’ll ask you on your reasons for going and expectations from Masungi. (Clue: Closer to Nature. Closer to God). She’ll also explain the rules and the do’s and dont’s on how to survive the trail so listen carefully. The most important thing that you need to remember is to never wander away from your group and the park ranger.
3. Do your restroom business before the trail
There will be no more restrooms mid-trail so it would really be wise to empty that bladder first. They have a pretty comfort room.
4. Don’t be maarte

Wear your helmet. In case you’ll slip or fall while on the activity, this can protect your head from injuries.
5. Relax and enjoy the views of nature

Relax and focus on the nature instead. Enjoy your view. Nakakawala ng pagod ang ganda.
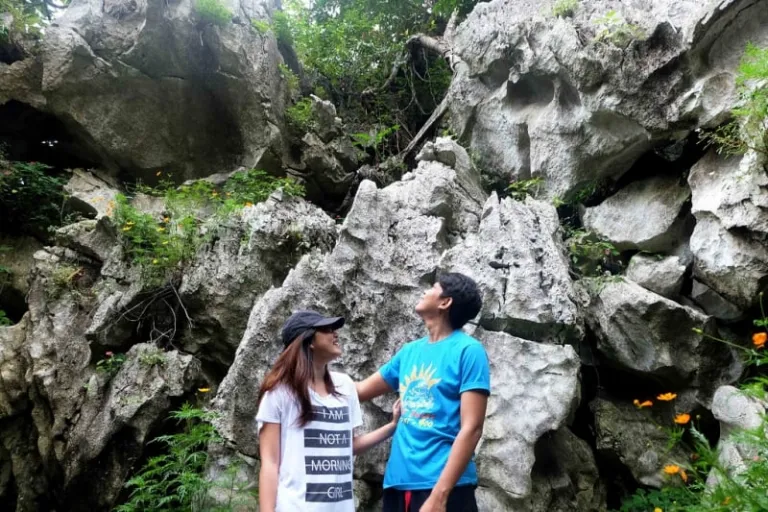
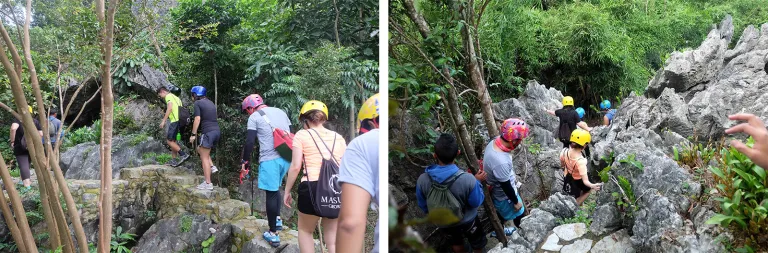
Masungi Georeserve is actually unfit friendly. You don’t have to walk in the soil/mud, slip and climb while holding a branch for your dear life because the trail is already cemented, there are arranged flat rocks you can step on and even stairs for climbing. You just need a lot of cardio, as in lots of it.
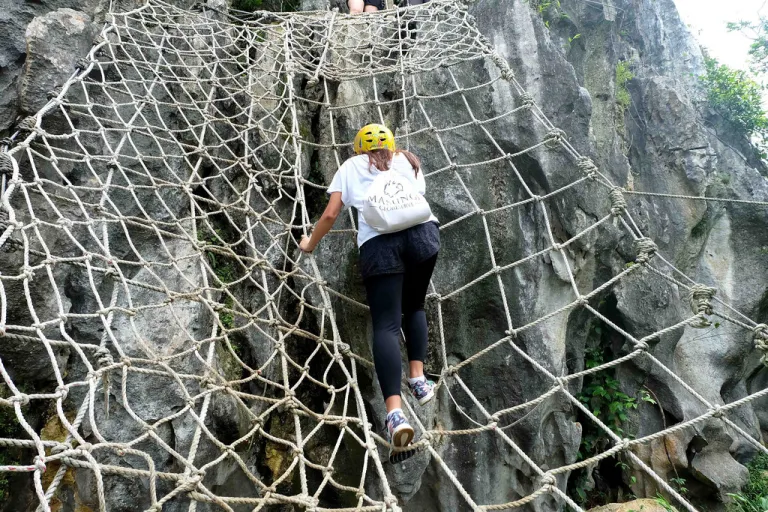
Lambat Climbing
The first obstacle is to climb an approximately 15 feet long lambat. Since you still have 100% of your energy, this will be an easy breezy thing even when you’ve never exercised in your entire life. Just be extra careful at the top part because you really need to carry your whole weight to stand on the edge. The view is nice up there, though.
6. Stay in the middle when climbing
It was easier for me to climb on the left side because my shoes kept getting stuck on the smaller knots on the right side of the web. I think it would be best to climb in the middle.
7. Be ready for the climb
After lambat climbing, ready your legs because you’ll start with the real climb to the peak. Don’t worry, there are dramatic spots along the way so ready your cameras, too!
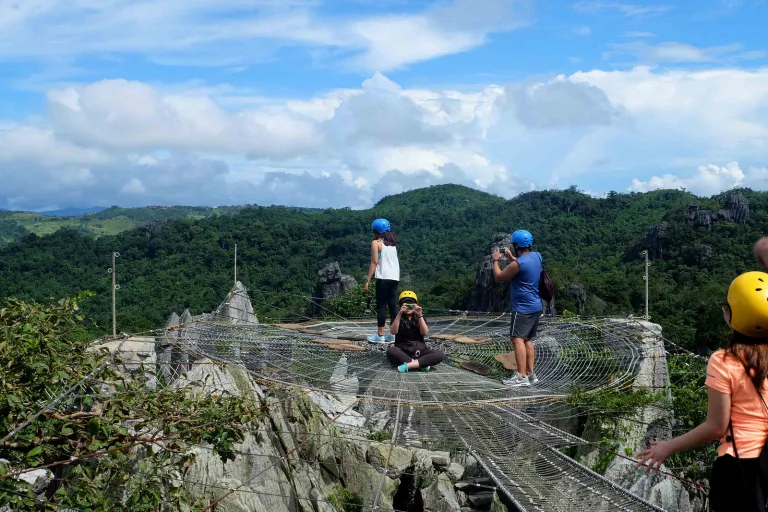
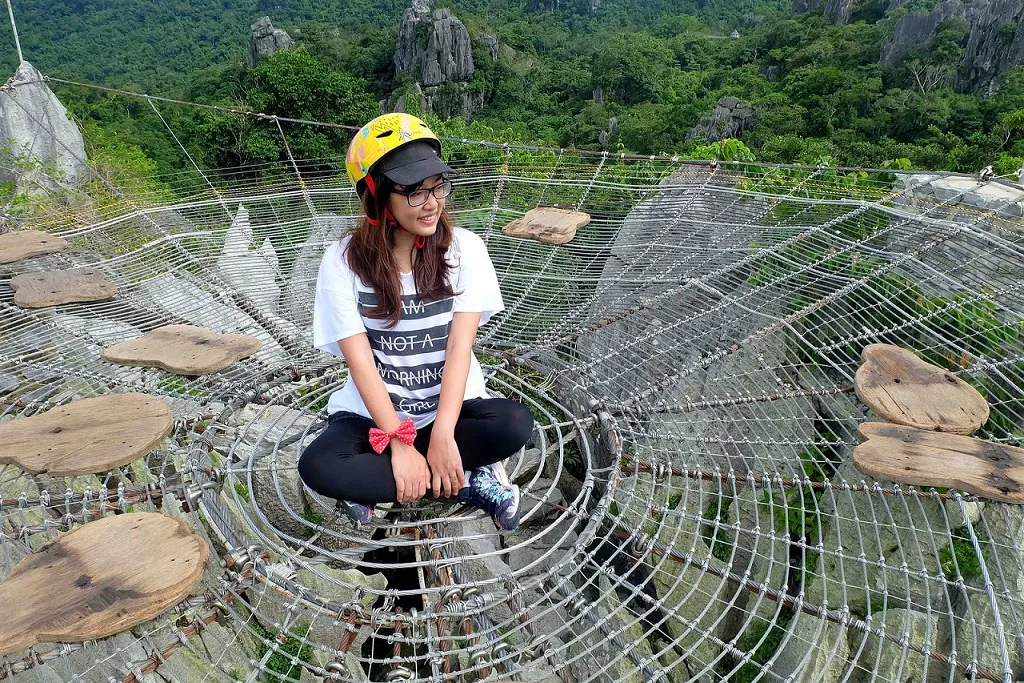
Crawling my way to Sapot

At the top of the first mountain is the Sapot, designed like a spider web overlooking Laguna de Bay. This is one of the famous areas of Masungi. Below it are limestones you can explore too if you want.
There’s a narrow (good for 1 person only) lane you need to cross to go to the middle of the web. The Sapot is made of thick metal wires which swing a little as you go. I can’t cross it standing up because I tend to lose my balance (always, when crossing footbridges) and fall right at the stones below, so I ended up crawling.
8. Crawl if you must
If you think, you can’t cross it walking, then crawl on it as well. Mas okay na yung walang poise, at least safe!
9. Hold someone’s hand when you’re afraid of heights

If you’re afraid of heights, it’s time to hold somebody’s hand when crossing this suspended bridge. My boyfriend grabbed my whole arm here.
You will be given 15 to 20 minutes to enjoy Sapot then it will be time to climb down. You have to cross the suspended bridge above. It is freaking high so if you’re afraid of heights, I advise you not to look down. When you’re extra lucky, you’ll see birds flying around.
 From the suspended bridge, we have to hike down so prepare for a lot of this.
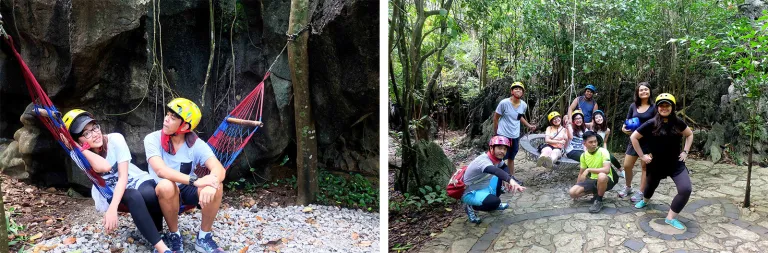 But there will be also a lot of rest stops. So use it well.
Chillin’ at Patak
Patak is the next area after Sapot. You can actually rest here because it has chairs inside. You can also try using the binoculars for bird watching. I failed to see a single interesting thing, though.
Also read: 10 Beginner-Friendly Hiking Trails in the Philippines
10. Regain your strength
 The mountain above is where the sapot is. You just conquered one mountain girl! Congrats!
Regain your strength here because this is where the trail will start to get harder.
 Survived part 1!! Energy level: 70%
 It’s like a water droplet, right?
Conquering Ditse
This, for me, is the hardest one in the trail. From Patak, you have to climb up the net to ditse (the second daughter in Chinese). Ditse is just a small mountain/limestone (I’m not sure) so it gets overcrowded on top. It is very much open so one wrong move can bring you flying to heaven. So imagine 9 of us staying close together in the middle of the summit. The scary part is the climb down to Duyan. Imagine yourself sitting on the edge of Ditse, one wrong step can be tragic. Channel your brave soul here!
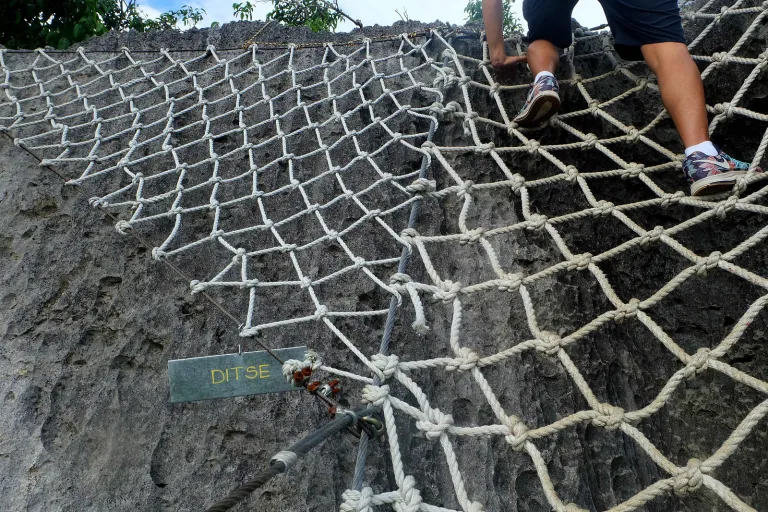 The climb up.
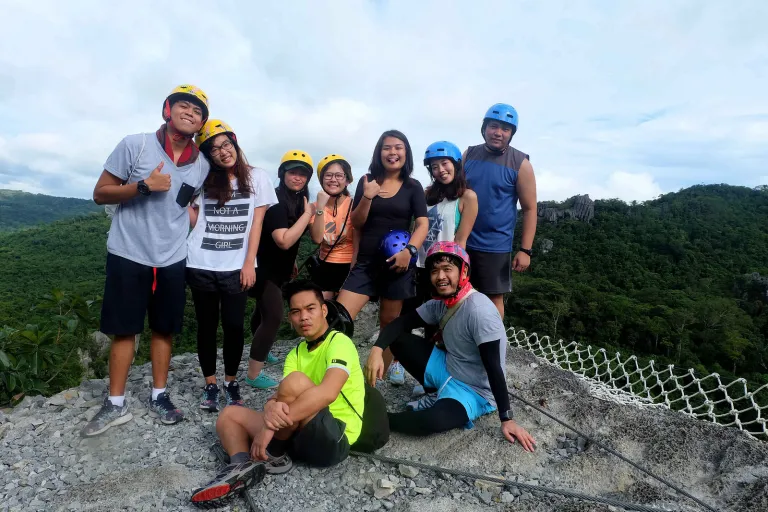 Ditse’s summit. The one in our back is where you will climb down to Duyan.
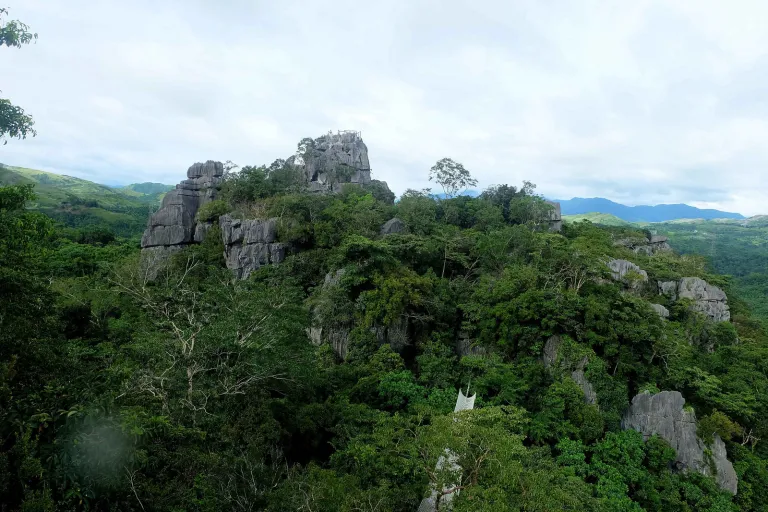 The Duyan from Ditse. Can you imagine how high it is, so far? Then the high peak there is Tatay.
11. You can go down with someone

You can actually go down with someone because the net is wide enough for two.
 From this point, we climbed down together. #TeamFloralShoes
Enjoying Duyan
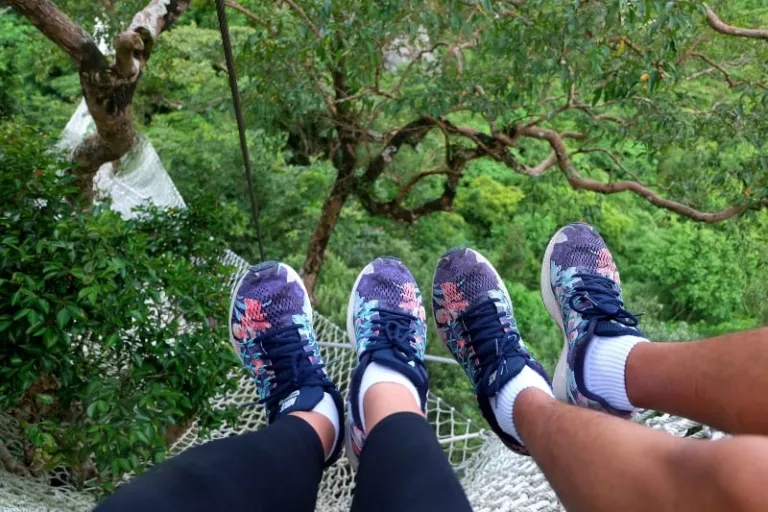
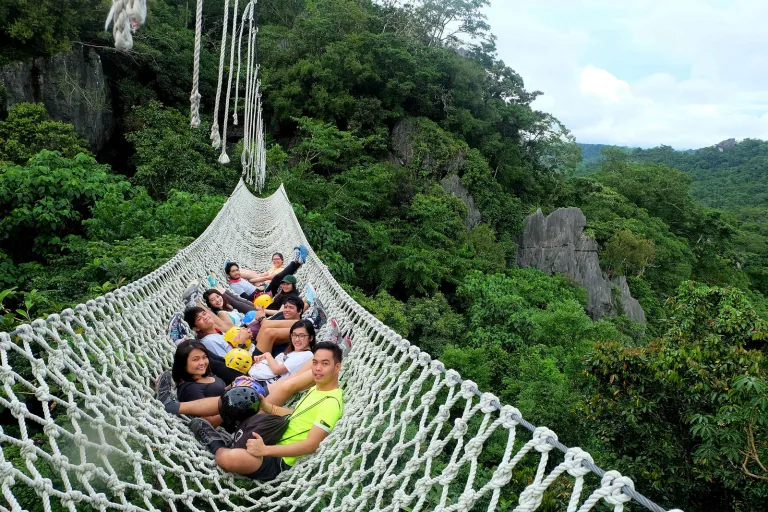
 Slowly but surely. My foot keeps getting stuck on the knots.
Duyan (hammock) is suspended between Ditse and Tatay. It is high enough that you can see birds flying below if you look down. It is not scary at all, even Paul who is afraid of heights enjoyed it. Maybe because the view will drive out all the fear. It is so green and beautiful, a manifestation that there really is a Creator. So far, this is my favourite area, and I think you will like it too.
12. Say a simple thank you to God
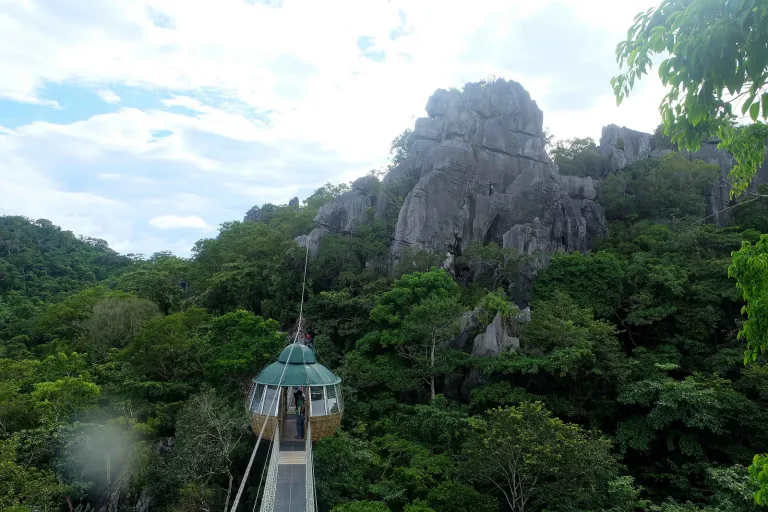
 One of a kind experience.
Say a simple thank you to God for the beauty you’ve seen.
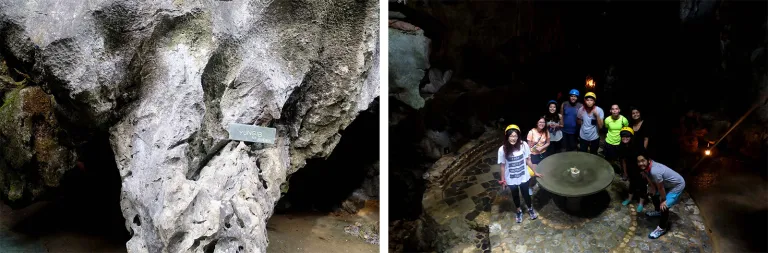
Yungib ni Ruben
After Duyan, you’ll explore the cave discovered by one of the park rangers of Masungi. You guessed it right, the ranger’s name is Ruben. It is dark inside so bring out your phones for some light source. In the middle of the cave is a water fountain that catches the rain. The temperature inside is cool and should you wish, you may go ahead and wash your face with the cold water in the fountain.
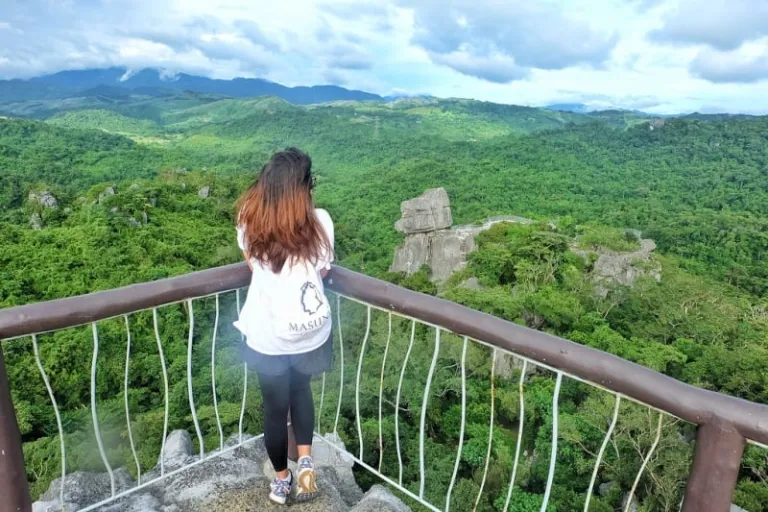
At the peak of Tatay
Tatay (father) is the tallest among all the peaks in Masungi Georeserve. It is a long way up to the top and this is where my whole legs were close to giving up. At this point, fatigue will start to make its way to you. We have to stop most of the time for some sugar rush and boiled eggs. I don’t even have photos anymore because I’m so tired to even click my camera.
13. Bring snacks to energise you
Bring chocolates, energy bars or anything that will give you energy. You will badly need it as you trek to the peak.
 Uwi na tayo!
But the view from above is priceless! It is an endless view of greens and mountains. It is fulfilling to have your body overcome something you never thought it could.
 Energy level: 10%
Sa piling ni Nanay
On our way to Nanay (mother), I’m quite sure I was already dragging my legs to move forward, one after another. Unlike Tatay, Nanay has hammocks and so many rocks where you can sit on. True to her name, this peak will offer you rest before you end the trail. Even in nature, mothers are nurturing and loving.
 A mandatory shot for Masungi Georeserve survivors!
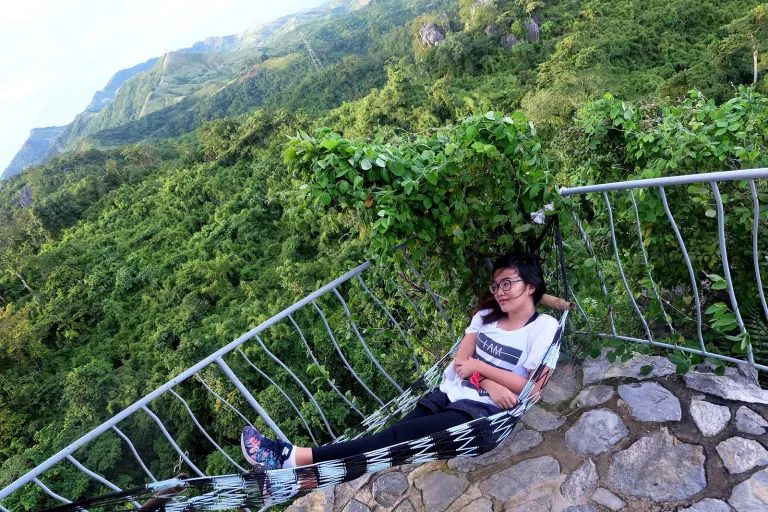 Energy level: up by 20%
Nanay is the last stop for the trail. And it’s time to climb down to Liwasan for your complimentary sandwiches and juice.
 We’re done!
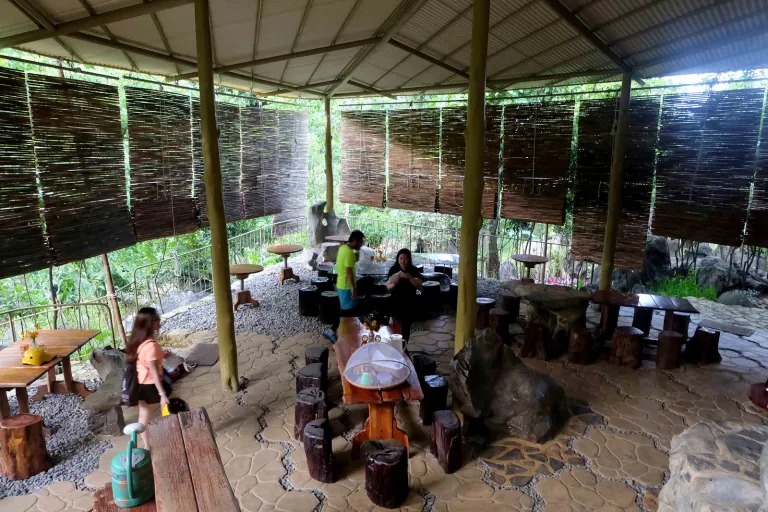 Food offered: Sandwich with tuna spread, iced tea and banana
My last tip is for you to just believe in your body and in your self! I’ve done and survived it. So, there’s no doubt that you will, too! If you are up for the #SaveMasungi challenge, here’s what you need to know:
How to experience the Masungi Georeserve

- Form a group of 7 to 14 persons; strictly no more and no less.
- Book for your choice of travelling date and time here. If you want to go on a weekend, reserve at least 5 months before. I’m not kidding!
- Wait for Masungi Georeserve’s confirmation e-mail within 7 days of booking. If you choose bank deposit as your mode of payment, the bank details are included in the e-mail.
- You have 7 days to deposit the 50% down payment to secure your reservation. If the reservation is not paid within 7 days, the dates will be available for booking again. If you have already paid the down payment, immediately email them the deposit slip. And just to be sure, keep the hard copy of that deposit slip. The Discovery Trail is ₱1,400 but I heard they’ve increased their prices last January 2017. So for updates, read the Masungi Georeserve Releases New Conservation Fee for 2017.
- The remaining balance needs to be paid 4 days before your visit. You may add additional people as long as your group will not exceed the 14 person-group limit. Send the final deposit slip via e-mail, too.
- On the day of your visit, arrive an hour earlier than your scheduled time.
How to get there
Via Private Vehicle
You can use the Waze app for navigation directions to get to Masungi Georeserve or Kilometer 47. Just follow/stay on the Marcos Hi-way Road/ Marikina-Infanta Road. You have to pass by Masinag, Cogeo then Tanay.
Via Commute
Commuting is not really advisable. There are no jeepneys passing by. If you don’t have a car on your own, you can invite a travelling friend who has. Another option is to charter or rent a vehicle to get there.
Conservation Fee Inclusions
- Local Park Ranger Guide
- Light complimentary meal after the trail
- Helmets and light bags (not for take-home though)
- Raincoat if the weather is not so nice (must be returned)
Additional tips

- Bring your own water tumbler and trail food.
- Wear comfortable hiking attire and closed shoes.
- Review and respect the policies of Masungi Georeserve.
- There are no food places around Masungi so better eat your breakfast/lunch in Antipolo.
- Pack light. Bring only the essentials.
- There’s a no tipping policy but we tipped our ranger anyway.
- Be a responsible traveller. Don’t pick flowers. Don’t throw your candy wrappers around.
- If you are coming from somewhere far like Laguna and Bulacan, I advise you to book a resort in Tanay. You can try Bakasyunan Resort or Ten Cents in Heaven. Don’t worry as they’re affordable!
Also Read: 7 Long Weekend Getaway Destinations In The Philippines
How about you, have you been to Masungi Georeserve? Or planning to go soon? Go share your experiences or questions in the comments section.
Published at
About Author
Bea De Guzman
Bea De Guzman is a corporate wandering soul who is working her ass off for her travels and adventures. She dreams to see the world, resign from her corporate job and to be paid by travelling. But for now, she’s wandering one place at a time, one permission at a time, one saving at a time and share it all on her blog Wander B.
Subscribe our Newsletter
Get our weekly tips and travel news!
Recommended Articles
5 Easy Weekend Destinations Outside Manila, Philippines The Philippine Bucket List: 20 Challenges Every Filipino Traveller Must Complete Call yourself a true blue Filipino traveller if you’ve completed this Philippine Bucket List.
27 Places in Manila for A Completely Free Outing You don’t have to spend a single peso to enjoy Manila because there are many things you can absolutely do for free!
Backpacking Northern Luzon in 9 Days for PHP10,000 9 days, 5 destinations and a budget of Php 10,000, here’s your budget travel guide to backpacking the northern region of the Philippines.
10 Family Outing Ideas in Metro Manila Under ₱500 Looking for a weekend bonding with the family under ₱500? Head to these places, pronto!
Latest Articles
BTS Concert Budget Philippines vs Thailand Ticket Prices and Travel Cost Comparison 2026 Philippines vs Thailand concert costs
11 Airlines Known For Comfortable Long Haul Travel Experiences For Filipino Travellers Long flights made easier
Visitor Behaviour Tips After Two Americans Arrested in Viral Monkey Punch Zoo Incident Trespassing incident at Ichikawa zoo sparks backlash online
Philippine Laws Every Filipino Traveller Should Know Before Going Abroad Know your rights abroad
Lapus-Lapus Beach In Romblon: The Hidden Paradise In Tablas Island You Need To Visit Hidden beach in Romblon